So I'm currently in between jobs, since the family I worked for is moving away (*tear*), but I have decided to use this time to get the house in order, using as little money as possible. I was lucky enough to come across these at my local dollar store for a buck-fifty each:
I bought one of them, and I liked it so much that I went back and bought five more. Tonight, I was sitting and staring at them, trying to figure out what to do, when I remembered this ugly black shelf I had hanging in my kitchen:
I love how sturdy and functional this shelf is, but the black clashed horribly with the rest of the room and it kind of stuck out like a sore thumb. Thus, I made this:
I drink a lot of tea (especially peppermint!), and I had boxes of it accumulating on this shelf when it was hanging in the kitchen, but it was definitely not attractive with the clashing boxes and the clutter. Don't be fooled by the photo; the rest of my kitchen looks like crap.
Materials:
glue stick
small metal canisters or any canister of your choice
shelf
latex paint
sandpaper
computer/ printer/photoshop or paint
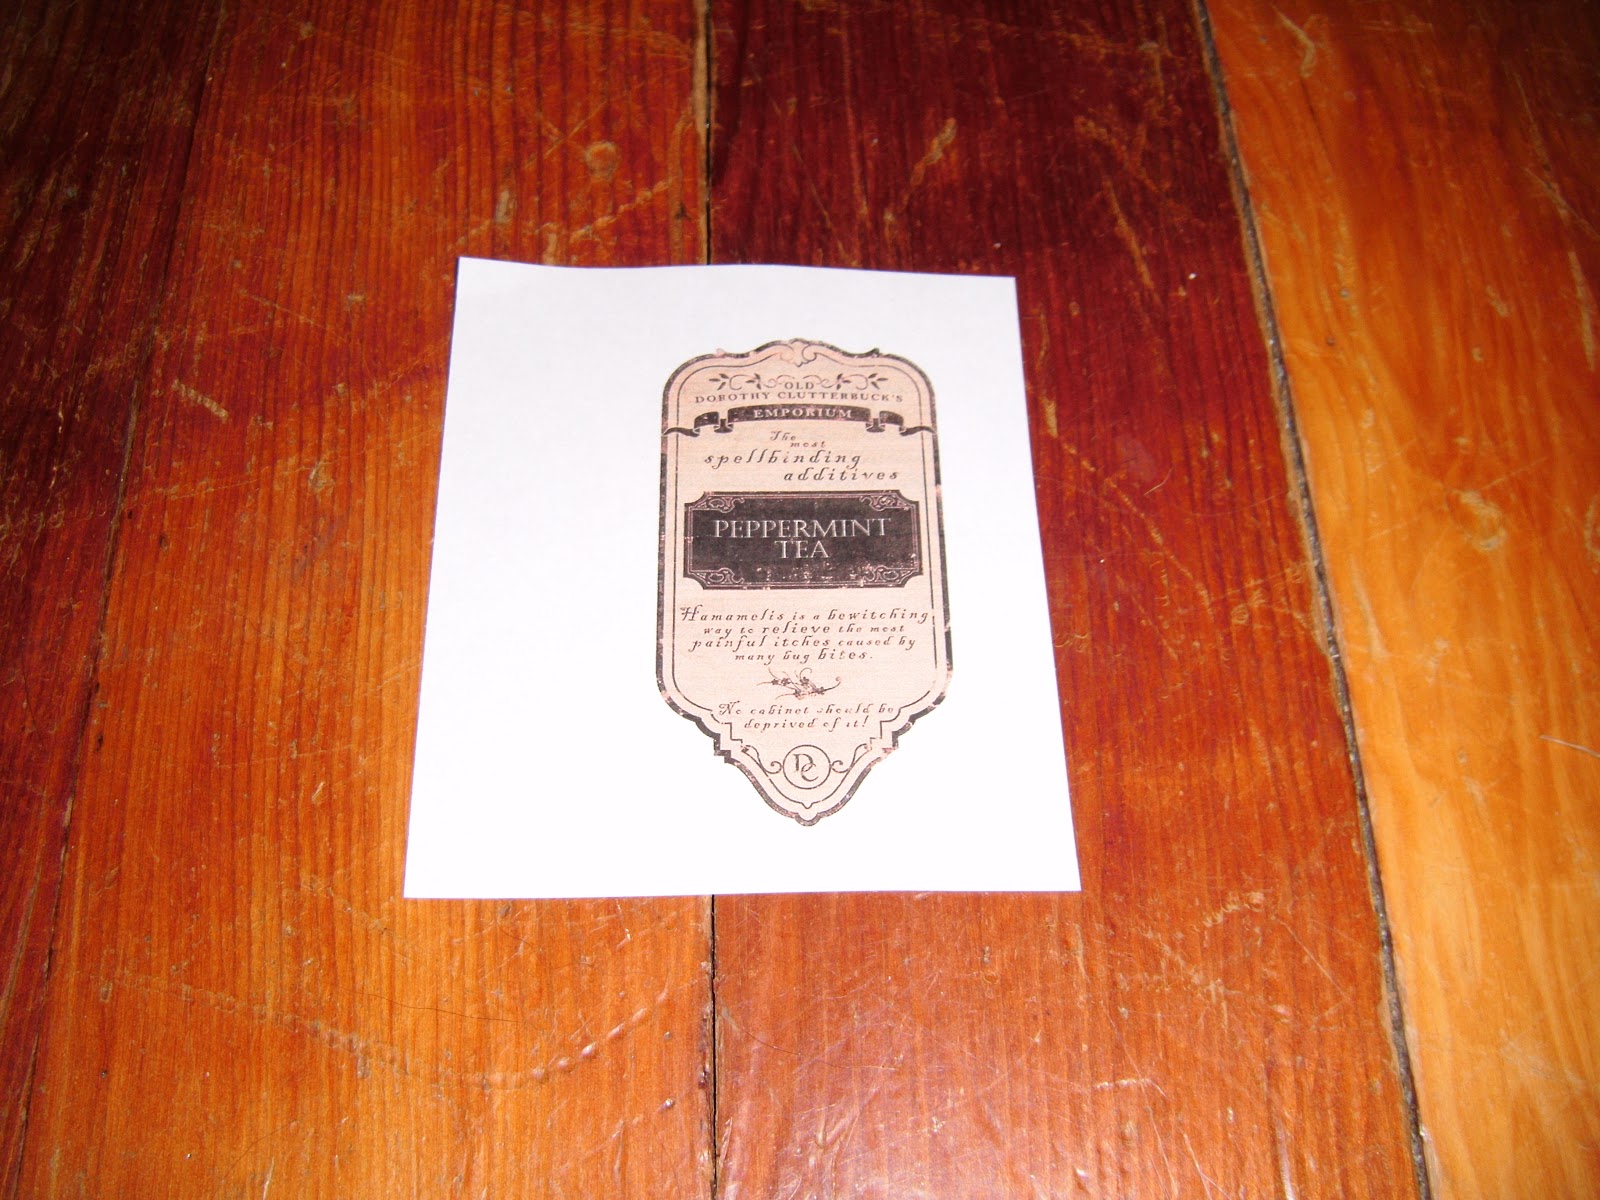
The label I found via Google image search is from Lovemanor's Flicker page, and you can download it
Here.Here is the original label before and after my minor editing (castellar font):
 |
| before editing |
 |
| after editing |
For those of you who don't feel like editing, I have included a PDF printable set of labels with flour, coffee, sugar and tea labels for your own canisters. You can download them
here.
After that, I simply printed the labels out (all on one sheet to save paper), and I carefully cut them out with scissors because
I didn't feel like digging out my exacto knife it was easier.
The next part is pretty self-explanatory: cut it out. glue it on the jar. Voila. Oh, and I painted that ugly shelf white after I lightly sanded it. Sanding it allows the paint to stick better and gives you a more even coat. I am impatient, so I slapped 3 coats of paint on in about 2 hours. You should wait longer. I'm arguing that it adds to the "shabby chic" look I was going for.
Now fill your jars and put them to use!
 |
| ignore the wax paper under the jars, I didn't want to wait for the paint to dry to get the photos. |
I may go back and sand the edges so the black will show through a bit, but I struggle to get the right balance of clean lines and "shabbiness to my chic," if that makes any sense.


No comments:
Post a Comment